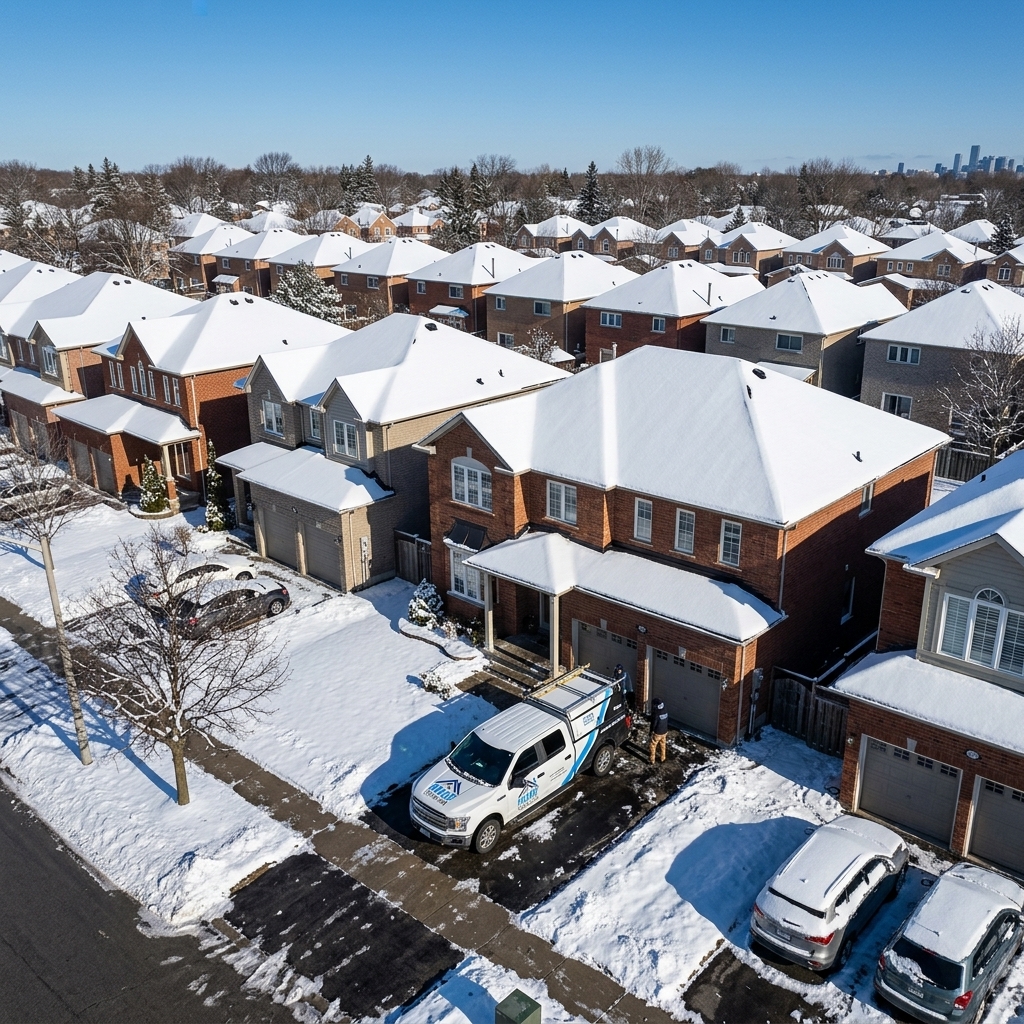
Toronto’s winters are brutal on residential roofs — months of freeze-thaw cycles, heavy snow loading, ice accumulation, and wind-driven precipitation that test every component of your roofing system from the ridge cap to the foundation. Preparing roof for winter toronto homeowners do proactively in autumn is the single most effective strategy for preventing expensive emergency repairs during the coldest months. A roof that enters winter with existing vulnerabilities — loose shingles, clogged eavestroughs, deteriorated flashing, or inadequate insulation — will almost certainly develop serious problems before spring arrives. This comprehensive checklist covers every step you need to take between September and November to ensure your roof survives the winter without leaks, ice dams, structural damage, or emergency repair bills.
Your Complete Winter Roof Preparation Checklist

1. Professional Roof Inspection
Schedule a professional roof inspection in September or October — before the first freeze. A qualified inspector will assess every critical component including shingle condition, flashing integrity, vent pipe boot seals, ridge cap adhesion, and the overall structural condition of the roof deck. This pre-winter inspection catches small problems — a few lifted shingles, a cracked pipe boot, deteriorated chimney flashing sealant — that cost $100 to $500 to fix in autumn but can cause $2,000 to $10,000 in water damage if they fail during a winter storm. Think of it as a pre-season check-up that identifies and eliminates every vulnerability before the harsh weather arrives.
2. Eavestrough Cleaning and Inspection
Clean all eavestroughs and downspouts thoroughly after the majority of leaves have fallen — typically late October to mid-November in the GTA. Blocked eavestroughs are the primary cause of ice dams because standing water in the trough freezes, backs up under the shingle edge, and creates a dam that forces snowmelt under the shingles and into the roof deck. During cleaning, inspect the eavestrough for sagging sections, loose hangers, leaking joints, and downspout disconnections. Verify that every downspout extension is connected and directing water at least 4 to 6 feet from the foundation — frozen ground cannot absorb water, so proper drainage is even more critical in winter than in summer.
3. Flashing Inspection and Sealant Renewal
Inspect all chimney flashing, vent pipe boots, and wall-to-roof transitions for deteriorated sealant, gaps, and lifting edges. Sealant that appears dried, cracked, or separated should be removed and replaced with fresh polyurethane sealant before winter — because once freezing temperatures arrive, sealants cannot be properly applied and existing gaps will allow snowmelt infiltration during every thaw cycle. Pay particular attention to any metal flashing that shows rust staining, as corroded flashing loses its watertight integrity and will fail under ice loading.
4. Shingle Assessment and Emergency Repairs
Walk the perimeter of your home and examine the roof from ground level with binoculars. Look for missing shingles, lifted or curling shingle tabs, areas where granule loss has exposed the black asphalt substrate, and any shingles that appear to be sliding down the roof face. Each of these conditions creates a water entry point that will be exploited by snowmelt, wind-driven rain, and ice formation throughout the winter. Missing or damaged shingles should be replaced before November — once temperatures drop below 5 degrees Celsius, shingle adhesive strips cannot properly seal, making winter shingle work less durable than warm-season repairs.
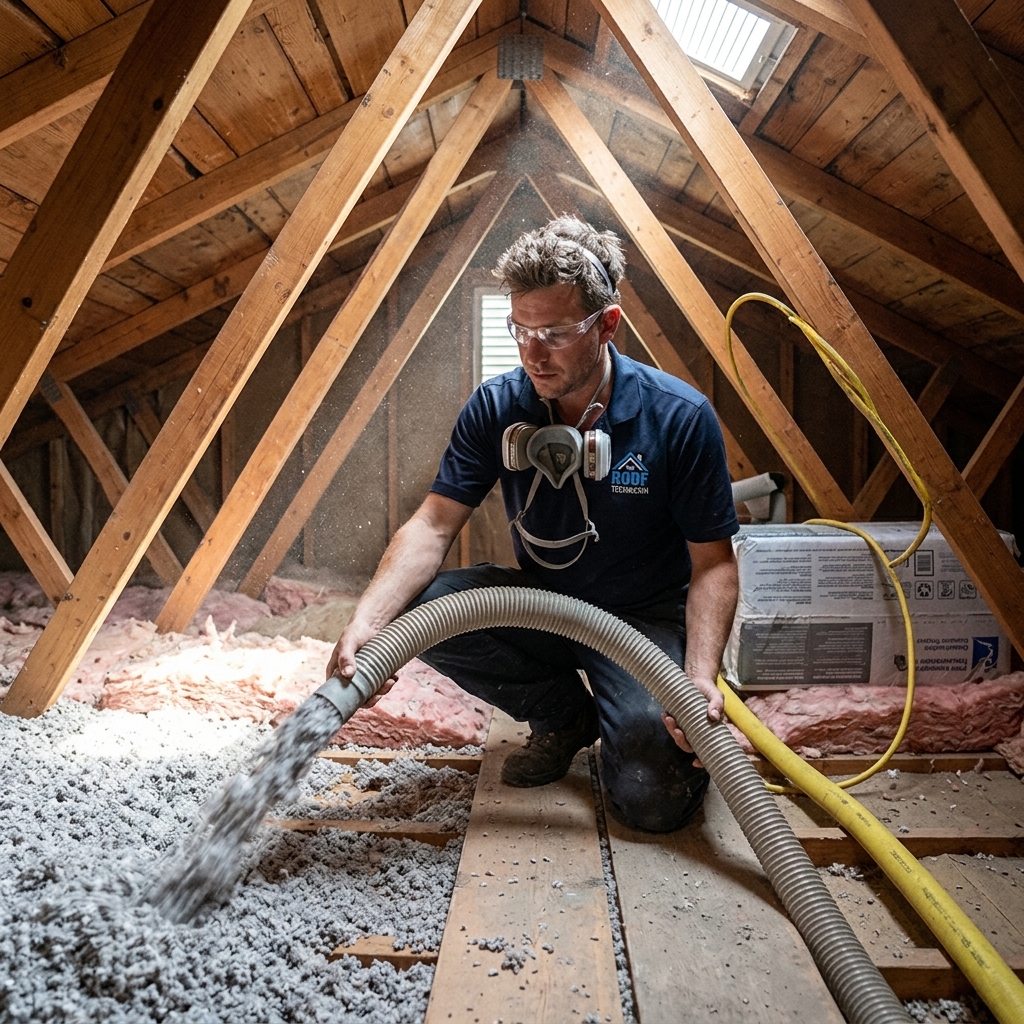
5. Attic Insulation Verification
Your attic insulation is the first line of defence against ice dams and heat loss through the roof. Ontario Building Code requires a minimum of R-50 (approximately 16 inches of blown cellulose or fibreglass) for new construction, but many older Toronto homes have significantly less. Insufficient attic insulation allows heat from your living space to warm the underside of the roof deck, melting snow on the roof surface. This meltwater flows down to the colder eaves where it refreezes into ice dams that force water under the shingles. Before winter, measure your attic insulation depth — if it is less than 14 inches, adding insulation is one of the most cost-effective winter preparation investments you can make, typically costing $1,500 to $3,500 for a complete attic top-up.
6. Ventilation System Check
Proper attic ventilation works in concert with insulation to keep the attic cold in winter, preventing the warm-roof conditions that cause ice dams. Check that all soffit vents are clear and unobstructed — insulation pushed against the soffit from the inside blocks intake airflow and destroys the ventilation balance. Verify that ridge vents, roof vents, or gable vents at the peak are functioning and unblocked. The goal is a continuous cold air circuit: intake through the soffit, upflow across the underside of the roof deck, and exhaust at the ridge — keeping the entire roof surface at a uniform cold temperature that prevents differential snowmelt.
7. Tree Trimming
Trim all tree branches that overhang the roof or come within 6 feet of the roof surface. Overhanging branches drop leaves and debris into eavestroughs, provide wildlife access to the roof and attic, and pose a direct structural threat during ice storms when the weight of ice accumulation can snap branches onto the roof below. A single ice-laden branch falling onto your roof during a winter storm can cause thousands of dollars in damage — far exceeding the cost of pre-season trimming. Hire a certified arborist for large trees adjacent to the home, as improper pruning can destabilize the tree and increase the risk of trunk failure in future storms.
8. Emergency Kit Preparation
Prepare a winter roof emergency kit that includes a quality roof rake (for snow removal from the eaves without climbing a ladder), calcium chloride ice melt packets (for creating channels through ice dams — never use rock salt, which damages shingles), a heavy-duty tarp and bungee cords (for emergency leak containment), and the contact information for your roofing contractor’s emergency line. Having these supplies on hand before a winter emergency saves critical hours when a leak develops at 2 AM during a February ice storm and prevents panic-driven decisions that often make the situation worse.
Month-by-Month Winter Prep Timeline
| Month | Priority Tasks | Why This Timing Matters |
|---|---|---|
| September | Schedule professional roof inspection, identify needed repairs | Maximum contractor availability, warm temperatures for optimal repair quality |
| October | Complete all shingle, flashing, and vent boot repairs. Tree trimming. Attic insulation top-up | Last month of reliably warm temperatures for shingle adhesive bonding |
| November | Final eavestrough cleaning after leaf fall, downspout extension check, emergency kit prep | Last opportunity before first hard freeze and potential ice formation |
| December-March | Monitor for ice dams, snow load management, emergency response only | Proactive repairs are no longer possible — focus shifts to damage mitigation and monitoring |
Interior Warning Signs to Watch For During Winter
Even with thorough preparation, winter conditions can overwhelm roofing components. Monitor your home’s interior throughout the winter months for early warning signs of roof problems developing. Water stains appearing on ceilings or walls — particularly near exterior walls, chimneys, or skylights — indicate active water infiltration that requires immediate professional attention. Peeling paint or bubbling wallpaper on upper-floor walls suggests moisture is migrating through the wall cavity from a roof leak above. Musty odours in the attic signal mould growth on the underside of the roof deck, typically caused by inadequate ventilation allowing warm moist air to condense on the cold wood surface.
Icicles hanging from the eaves are a warning sign that should not be ignored. While small icicles are common and generally harmless, large icicles indicate that meltwater is running off the roof surface and refreezing at the eave — the same mechanism that creates ice dams. Large icicles also pose a direct safety hazard to anyone walking below, as they can break free without warning and cause serious injury. If you observe persistent icicle formation in the same location year after year, the underlying cause is almost certainly an insulation or ventilation deficiency in the attic space directly above that area, and it should be addressed as a priority before the following winter.
The Cost of Prevention vs. the Cost of Emergency Repairs
| Prevention Service | Cost | Emergency Repair It Prevents | Emergency Cost |
|---|---|---|---|
| Pre-winter inspection + minor repairs | $0 – $500 | Mid-winter leak from failed flashing or missing shingles | $1,500 – $5,000 |
| Eavestrough cleaning (2x annually) | $300 – $700/year | Ice dam formation and water backup under shingles | $2,000 – $10,000 |
| Attic insulation top-up to R-50 | $1,500 – $3,500 | Chronic ice dams, heat loss, mould growth | $5,000 – $15,000 |
| Tree trimming near roof | $300 – $1,500 | Branch impact during ice storm | $3,000 – $20,000 |
Snow Load Management During Winter
Toronto’s building codes require residential roofs to support a minimum snow load of 1.5 kPa (approximately 30 pounds per square foot), which corresponds to roughly 4 to 5 feet of fresh snow or 2 feet of wet, compacted snow. Most properly constructed roofs will never reach this threshold under normal Toronto snowfall. However, older homes with deteriorated structural members, flat or low-slope roof sections, and areas where snow drifts accumulate — particularly behind dormers, against walls, and in roof valleys — can experience localized loading that approaches structural limits during exceptional snowfall events.
Use a roof rake to remove snow from the first 3 to 4 feet of the eaves after every significant snowfall. This prevents ice dam formation at the eave edge and reduces the weight loading on the most vulnerable part of the roof structure. Never climb onto a snow-covered roof — the combination of wet surfaces, hidden ice, and reduced visibility creates extreme fall hazards. If you notice sagging ceiling areas, cracking sounds from the roof structure, or doors and windows that suddenly become difficult to open, evacuate the area beneath the roof and call a structural professional immediately.
When should I start preparing my roof for winter in Toronto?
How much attic insulation do I need to prevent ice dams?
Should I remove snow from my roof?
Can I repair my roof in winter?
What causes ice dams on Toronto roofs?
How much does a pre-winter roof inspection cost?
Prepare Now — Prevent Costly Winter Emergencies
Every dollar spent on fall roof preparation saves ten dollars in winter emergency repairs. The Roof Technician provides comprehensive pre-winter roof assessments, priority repair scheduling, attic insulation verification, and all the services on this checklist — completed before the first freeze so your home enters winter fully protected.
Call us today at (416) 826-0040 or book your free pre-winter roof assessment online.
The Roof Technician provides professional winter roof preparation services across Toronto, Mississauga, Brampton, Oakville, Burlington, Vaughan, Markham, and the entire Greater Toronto Area.