Your roof is the single most important structural component protecting your home — and yet most Toronto homeowners never inspect it until something goes wrong. A small crack in flashing, a handful of missing shingles, or a blocked soffit vent can escalate into thousands of dollars in water damage, mould remediation, and emergency repairs if left undetected through a Toronto winter. A systematic roof inspection checklist toronto homeowners can follow each fall gives you the ability to catch problems early, address them affordably, and enter the winter season with confidence that your roof is ready for everything Toronto’s climate can deliver — ice, snow, freezing rain, and brutal freeze-thaw cycles.
Why Every Toronto Homeowner Needs a Roof Inspection Checklist Toronto Weather Demands
Toronto’s climate is uniquely punishing on roofing systems. Summer temperatures exceeding 35 degrees Celsius cause asphalt shingles to expand and soften, while winter temperatures plunging to minus 20 cause those same shingles to contract and become brittle. This constant thermal cycling — combined with UV radiation, wind-driven rain, ice loading, and freeze-thaw cycles — means even a properly installed roof degrades measurably every year. A professional roof repair contractor can identify early-stage deterioration that is invisible to an untrained eye, but a homeowner armed with a thorough checklist can catch the most common and most dangerous issues before they require emergency intervention.
The ideal time for a comprehensive roof inspection in Toronto is late September through mid-October — after the summer heat has stopped and before the first freeze. This timing allows you to schedule any necessary repairs during the fall shoulder season when roofing contractors are less backlogged than during the peak summer months and before winter conditions make roof work dangerous and expensive.
Part 1: Ground-Level Inspection (No Ladder Required)
Start your roof inspection from the ground using binoculars or a camera with a telephoto lens. You can identify a surprising number of problems without ever climbing a ladder.
| What to Look For | What It Means | Urgency |
|---|---|---|
| Shingles that are curling, buckling, or lifting at the edges | Shingles are reaching end of life or were improperly installed. Wind can catch lifted shingles and tear them off | High — repair before winter |
| Missing shingles (bare patches of underlayment or roof deck visible) | Immediate water infiltration risk at every missing shingle location | Urgent — repair immediately |
| Dark streaks or stains running vertically down the roof surface | Algae growth (Gloeocapsa magma) — cosmetic issue but can accelerate shingle degradation | Moderate — schedule cleaning |
| Granule accumulation in gutters or at the base of downspouts | Shingles are shedding their protective granule coating — sign of advanced age or hail damage | High — may indicate replacement needed |
| Sagging or uneven roofline | Potential structural issue — water damage to roof decking or rafters, or excessive load from ice/snow | Urgent — professional assessment needed |
| Daylight visible through roof boards from inside the attic | Holes or gaps in the roof structure allowing water and pest entry | Urgent — immediate repair |
Part 2: Eavestrough and Drainage System Inspection
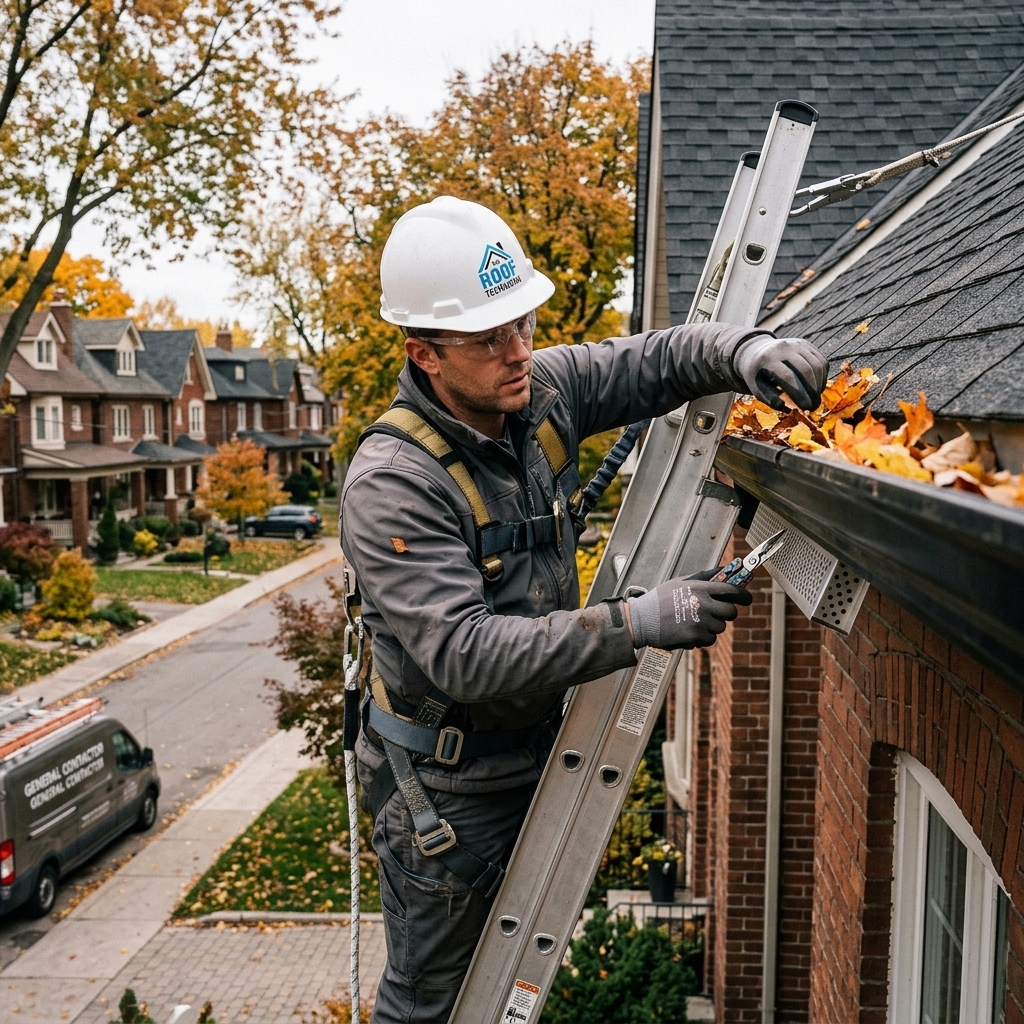
Your eavestrough (gutter) system is integral to your roof’s performance. Clogged, damaged, or improperly sloped eavestroughs cause water to back up under the roof edge, accelerate fascia and soffit rot, and contribute to foundation water problems. This portion of your roof inspection checklist toronto homeowners should complete every fall is critical for winter preparation.
Eavestrough Checklist
- Clear all debris: Remove leaves, twigs, shingle granules, and any organic matter from the entire eavestrough run. Debris blocks water flow and adds weight that pulls gutters away from the fascia.
- Check slope and alignment: Pour water into the eavestrough at the highest point and verify it flows smoothly toward the downspout without pooling. Eavestroughs should slope approximately 1/4 inch per 10 feet toward each downspout.
- Inspect joints and seams: Look for gaps, rust, or separation at eavestrough joints and corners. Leaking joints drip water directly onto the fascia board, causing rot.
- Verify downspout extensions: Downspouts should discharge water a minimum of 4 to 6 feet away from your foundation. If downspout extensions are missing, broken, or too short, water pools against your foundation wall and can infiltrate your basement.
- Check mounting brackets: Eavestroughs should be firmly attached to the fascia with no sagging sections. Replace any bent or missing brackets before winter ice loading adds additional weight.
Part 3: Flashing, Penetrations, and Seals
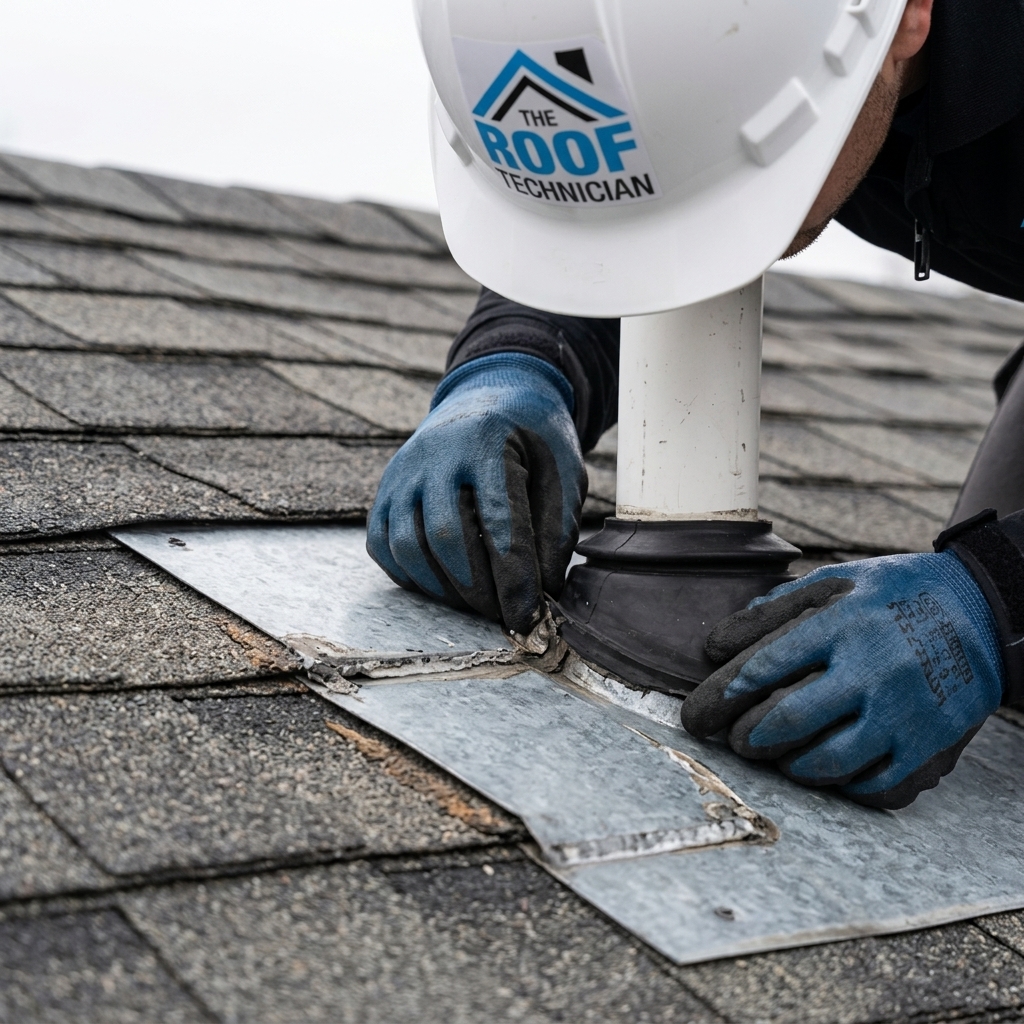
Roof penetrations — vents, plumbing stacks, exhaust fans, chimneys, and skylights — are the most common source of roof leaks because they interrupt the continuous shingle surface and rely on flashing and sealants to remain watertight. These components deteriorate faster than the surrounding shingles and require careful inspection every fall.
Flashing Inspection Checklist
- Plumbing vent boots: The rubber boot seal around each plumbing vent stack hardens, cracks, and splits over time due to UV exposure. If the rubber is cracked, hardened, or pulling away from the pipe, the boot must be replaced. Cost: $150 to $300 per vent.
- Step flashing along walls: Where the roof meets a vertical wall (dormers, second-storey walls), step flashing must be intact and properly lapped under the wall cladding. Missing or bent step flashing allows wind-driven rain to enter the wall cavity.
- Chimney flashing: Inspect both the step flashing along the sides and the counter-flashing embedded in the mortar joints. Check the cricket (the small peaked diverter behind the chimney) for debris accumulation and damaged flashing. Chimney flashing repair is one of the most common services we perform before winter.
- Skylight seals: Check the sealant around the perimeter of any skylights for cracking, separation, or discolouration. Inspect the flashing kit for bent or lifted components.
- Valley flashing: Roof valleys concentrate water flow and are high-stress areas. Check metal valley flashing for rust, holes, or displacement. On closed-cut valleys, verify that shingle edges are intact and not lifting.
Part 4: Attic Inspection from Inside
An interior attic inspection reveals problems that are completely invisible from the roof surface. With a flashlight and a careful eye, you can detect moisture intrusion, ventilation failures, and insulation deficiencies that would otherwise go unnoticed until they cause significant damage.
| What to Check | What to Look For | What It Indicates |
|---|---|---|
| Underside of roof deck | Water stains, dark spots, mould growth, warped or delaminating plywood | Active or recent water penetration — locate and repair the source |
| Insulation condition | Compressed, wet, or discoloured insulation; insulation pushed against soffit openings | Moisture intrusion or ventilation blockage |
| Ventilation airflow | Can you see daylight through soffit vents? Is air moving from soffits to ridge vent? | Blocked ventilation leads to ice dams and accelerated shingle deterioration |
| Rafters and trusses | Cracking, splitting, sagging, or signs of insect damage (frass, bore holes) | Structural concerns requiring professional assessment |
| Bathroom and kitchen exhaust | Verify exhaust fans vent to the exterior through the roof or soffit — not into the attic | Exhaust venting into the attic causes massive moisture and mould problems |
Part 5: Professional vs. DIY Inspection
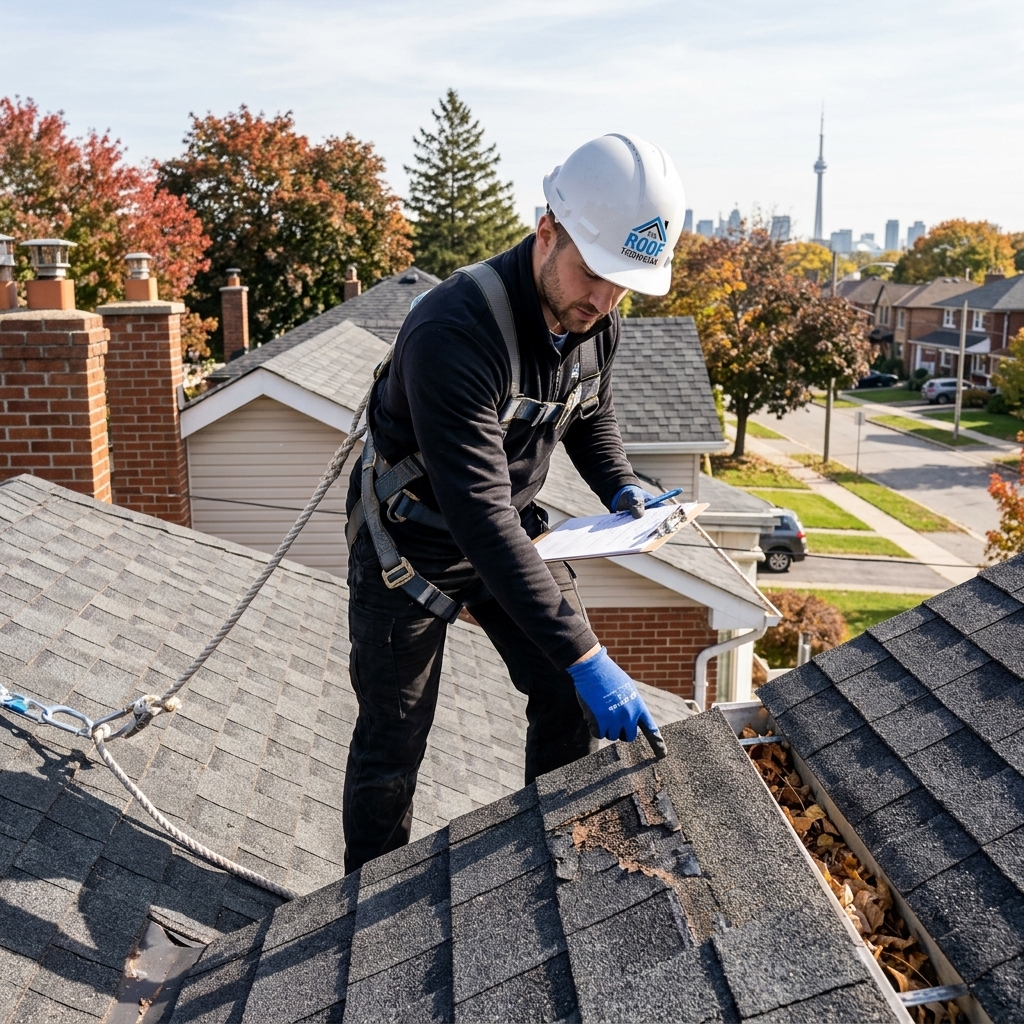
A homeowner inspection following this checklist catches the most obvious and most common roofing issues. However, a professional roof inspection by a qualified roofing contractor includes capabilities that homeowner inspections cannot replicate. Professional inspectors walk the entire roof surface — feeling for soft spots that indicate decayed decking, testing flashing adhesion, measuring remaining shingle granule depth, evaluating ventilation balance with airflow meters, and assessing the structural integrity of the framing from inside the attic. A professional inspection takes approximately 60 to 90 minutes, costs $150 to $300, and provides a written report with photographs documenting every finding and recommended repair.
For roofs that are 15 years or older, or for any roof that has experienced storm damage, a professional inspection is strongly recommended rather than relying solely on a homeowner checklist. The cost of a professional inspection is negligible compared to the cost of emergency repairs that result from missed issues, making it one of the most cost-effective preventive maintenance investments available to Toronto homeowners.
Documenting Your Inspection for Insurance Purposes
Documenting the condition of your roof with dated photographs during each inspection creates an invaluable record that serves multiple purposes. If your roof sustains storm damage, your insurance company will require evidence of the roof’s pre-storm condition to process a claim. A homeowner who can produce dated photographs showing the roof in good condition immediately prior to a storm has a significantly stronger claim than one who cannot prove the damage is storm-related rather than the result of pre-existing deterioration. Take photographs of the overall roof surface from multiple angles, close-ups of all flashing and penetrations, the condition of eavestroughs, and the interior of the attic — and store them with the date and a brief description of your findings.
This documentation also provides your roofing contractor with a baseline condition report that makes future assessments more efficient. When a professional inspector can compare the current condition of your roof against photographs from previous inspections, they can identify the rate of deterioration and make more accurate predictions about remaining roof life, helping you plan and budget for eventual replacement rather than being surprised by an emergency failure.
When to Schedule Repairs After Your Inspection
If your inspection reveals any issues rated as “urgent” in the tables above — missing shingles, sagging roofline, daylight visible through the roof deck, or active water stains in the attic — contact a roofing professional immediately. These issues will worsen dramatically during winter and can escalate from a $200 to $500 repair into a $5,000 to $15,000 emergency restoration if water penetration occurs during a freeze-thaw cycle.
For issues rated as “high” priority — curling shingles, cracked vent boots, granule loss, eavestrough damage — schedule repairs before the end of November when roofing contractors can still work safely and effectively. Most roof replacement and repair work becomes significantly more difficult, more dangerous, and more expensive after the first sustained freezing temperatures arrive, typically in late November or early December in Toronto.
How often should I inspect my roof in Toronto?
How much does a professional roof inspection cost in Toronto?
Can I inspect my own roof safely?
What are the most common roof problems found during inspection?
When is the best time to replace a roof in Toronto?
How do I know if my roof needs replacement instead of repair?
Get Your Roof Winter-Ready — Call The Roof Technician
Do not wait for a leak to tell you your roof has a problem. Our professional inspection team identifies every vulnerability on your roof, provides a detailed written report, and recommends the most cost-effective solutions to ensure your home is protected through the harshest months of the year. Whether your roof needs minor maintenance or a complete replacement, we deliver honest assessments and quality workmanship on every project.
Call us today at (416) 826-0040 or schedule your free roof inspection online.
The Roof Technician provides professional roof inspections and repairs across Toronto, Mississauga, Brampton, Oakville, Burlington, Vaughan, Markham, and the entire Greater Toronto Area. Your roof protects everything — let us protect your roof.