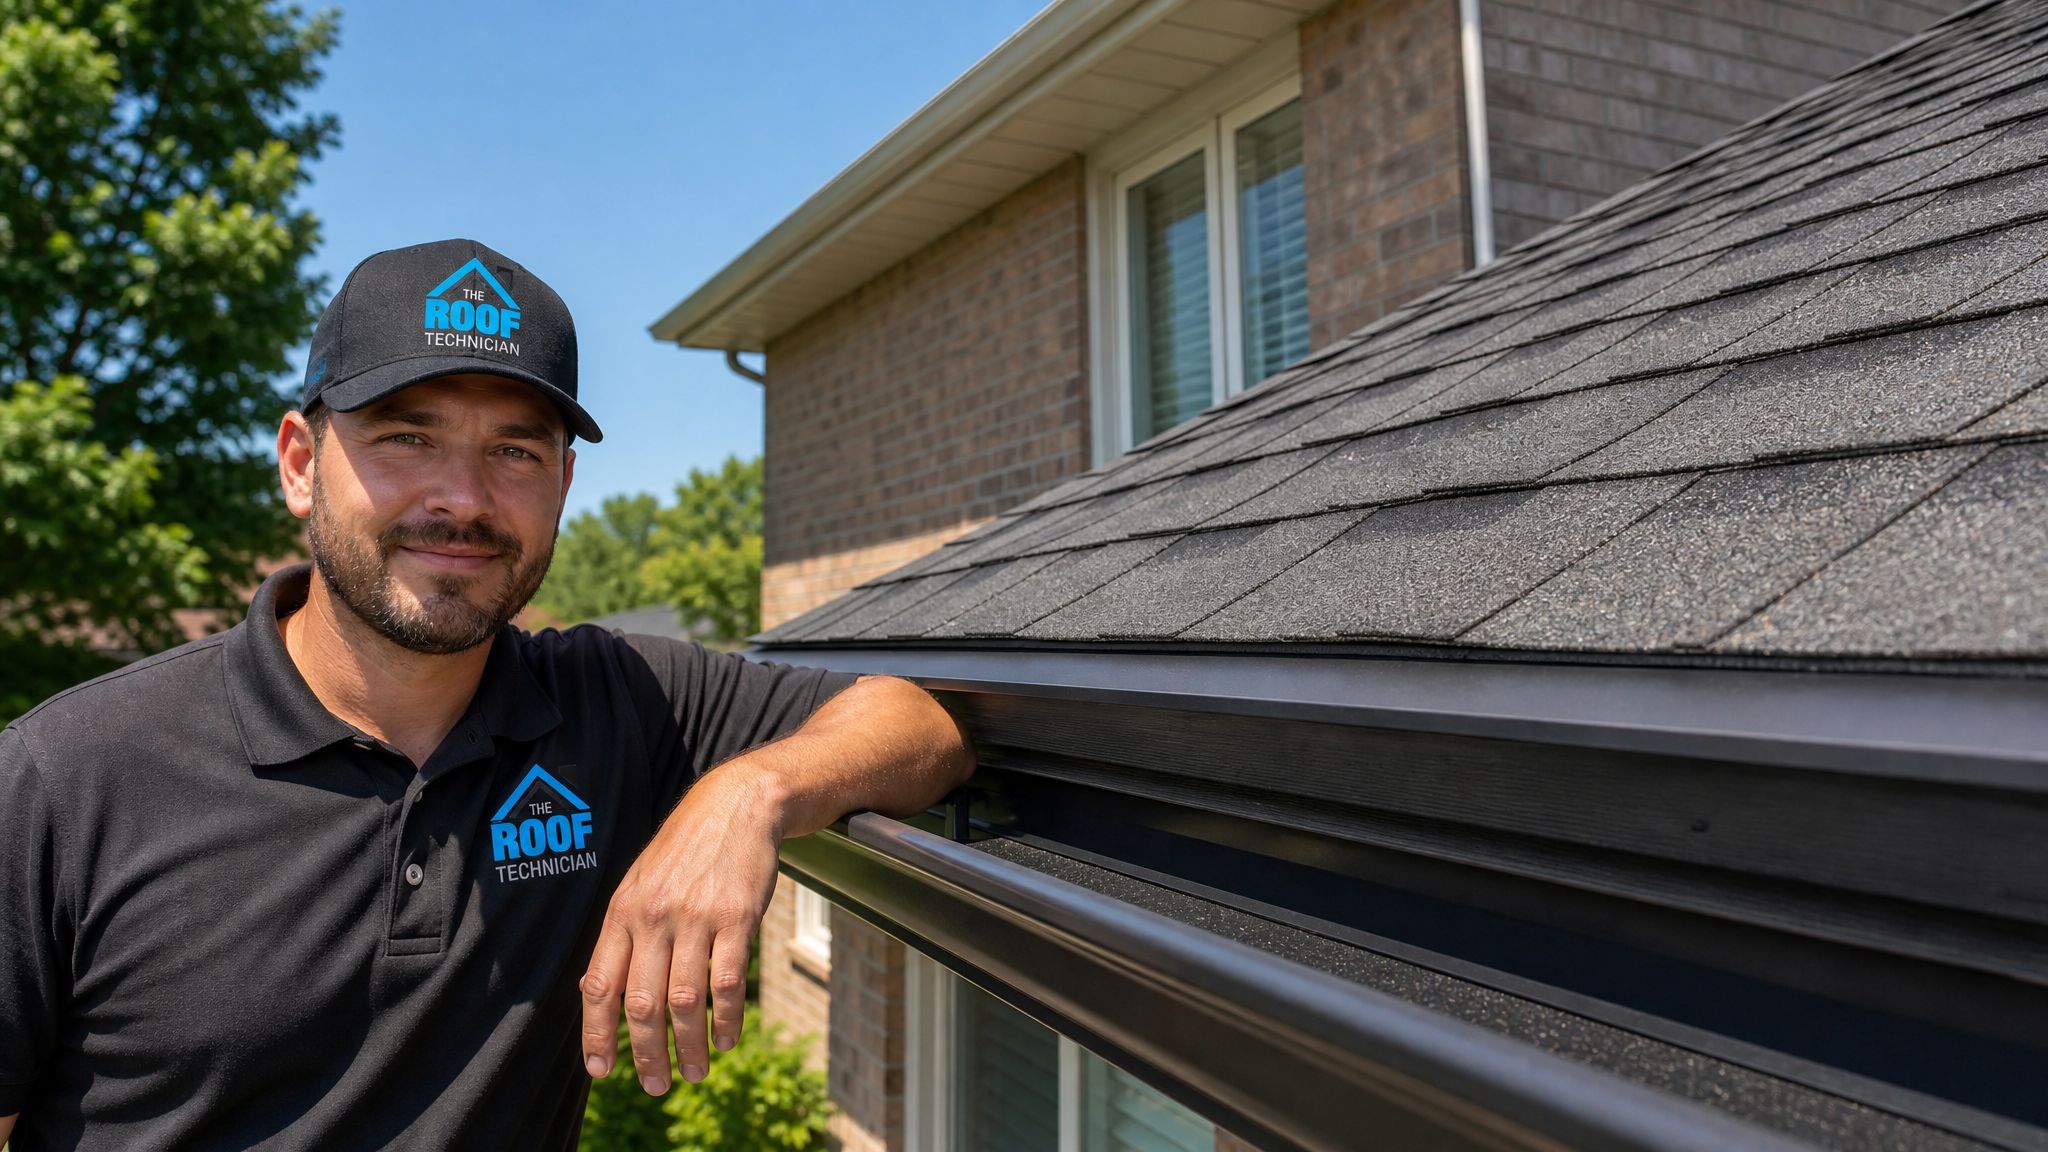
If you are replacing or repairing a roof anywhere in the GTA, drip edge installation is one of the small details that makes a large difference to how long your fascia, sheathing and soffit last. A drip edge is a thin metal flashing fitted along the eaves and rake edges of your roof, and it does the quiet work of directing rainwater off the roof deck and into the eavestrough rather than letting it curl back under the shingles. In Toronto, Mississauga, Vaughan, Markham and across the GTA, this component is not optional dressing. It is a code-required part of a properly built asphalt-shingle roof, and skipping it is one of the most common shortcuts that leads to rotted fascia boards and water-stained soffits a few summers down the road.
This guide explains why drip edge is mandated by the Ontario Building Code, what it costs in 2026, how it physically protects your fascia and roof deck, and what a correct installation looks like. Whether you are budgeting for a full roof replacement or addressing a problem during a roof repair in Toronto, understanding this detail helps you ask better questions and avoid paying for work that quietly cuts corners.
What Drip Edge Installation Is and Why It Matters
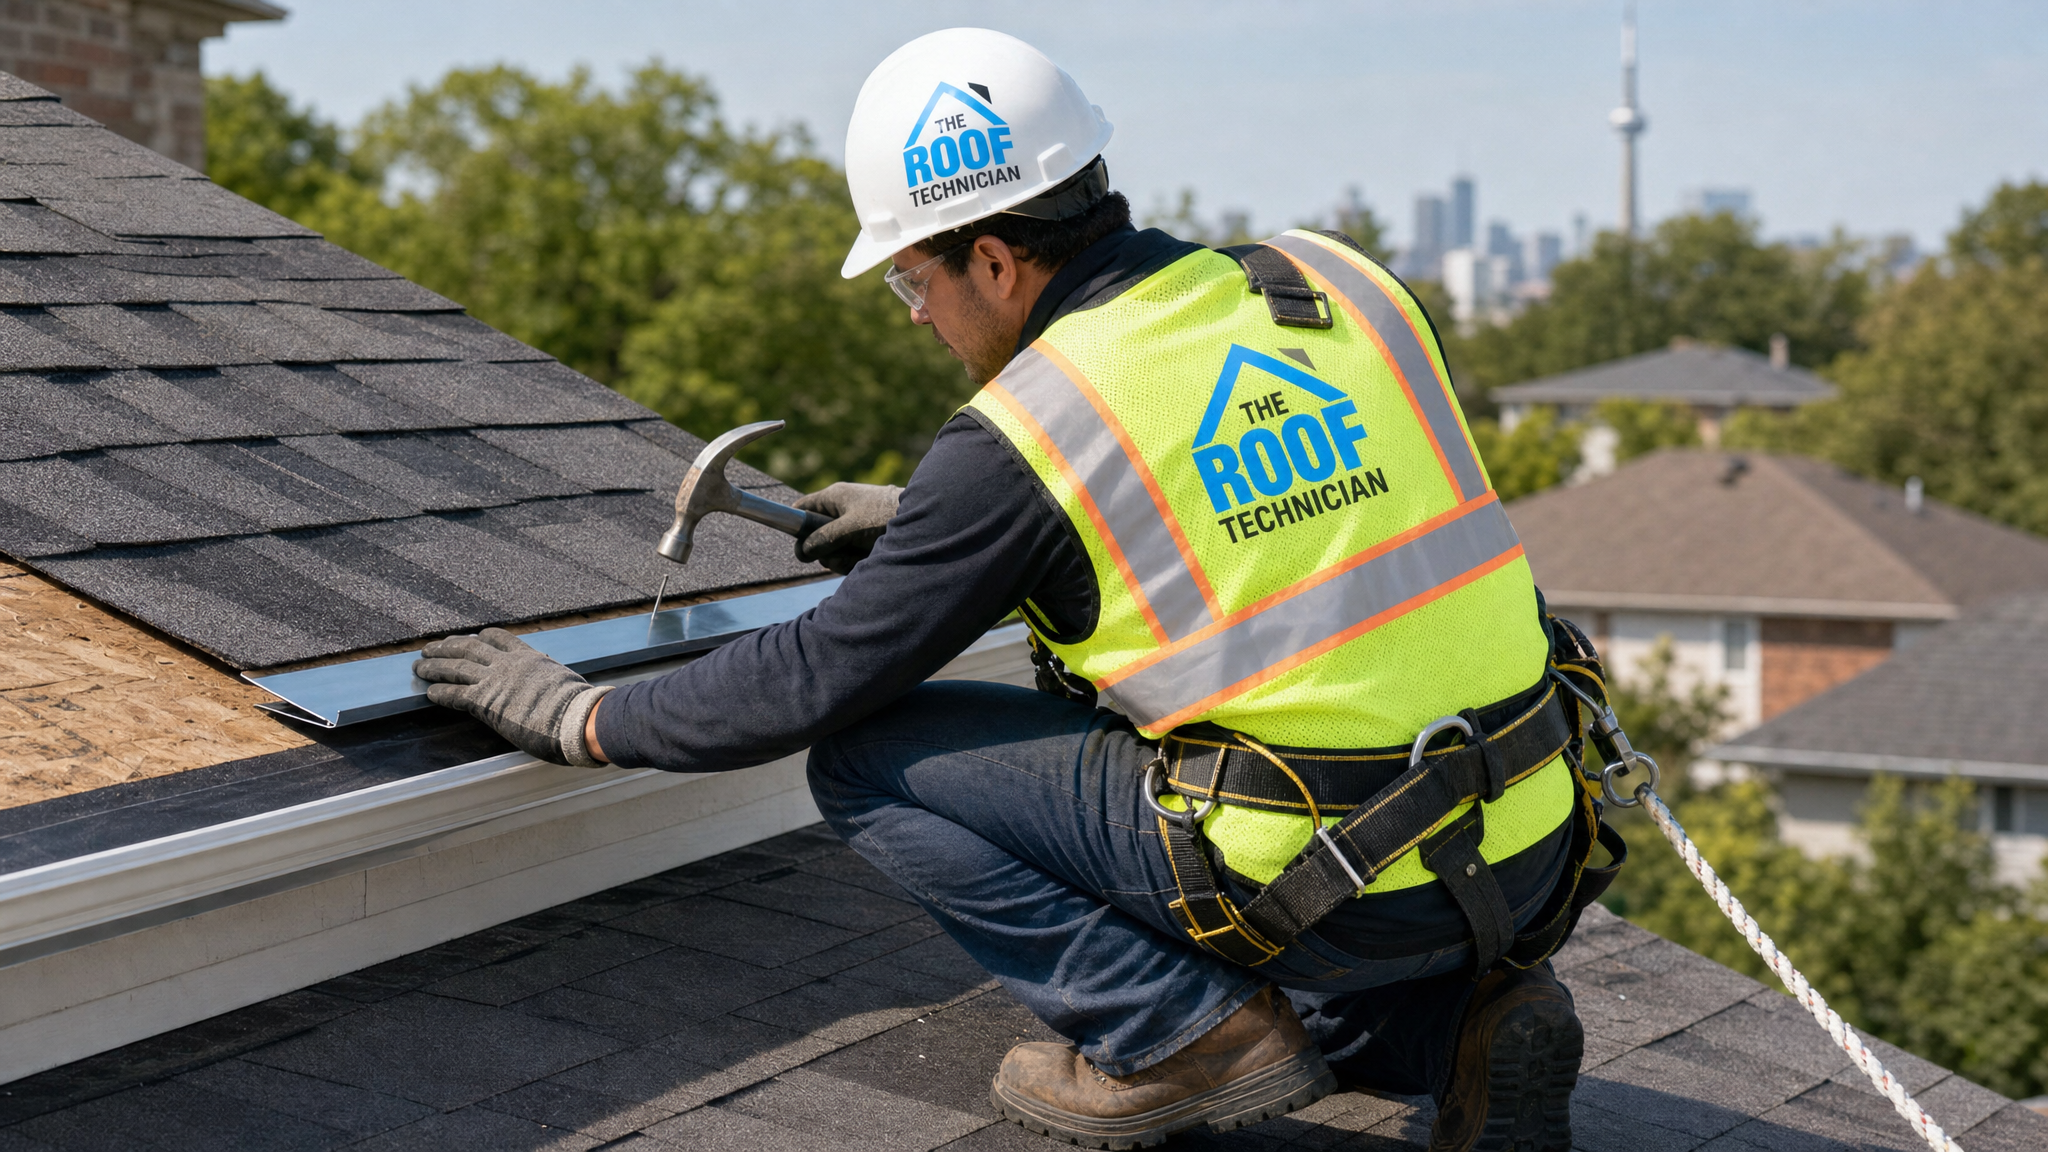
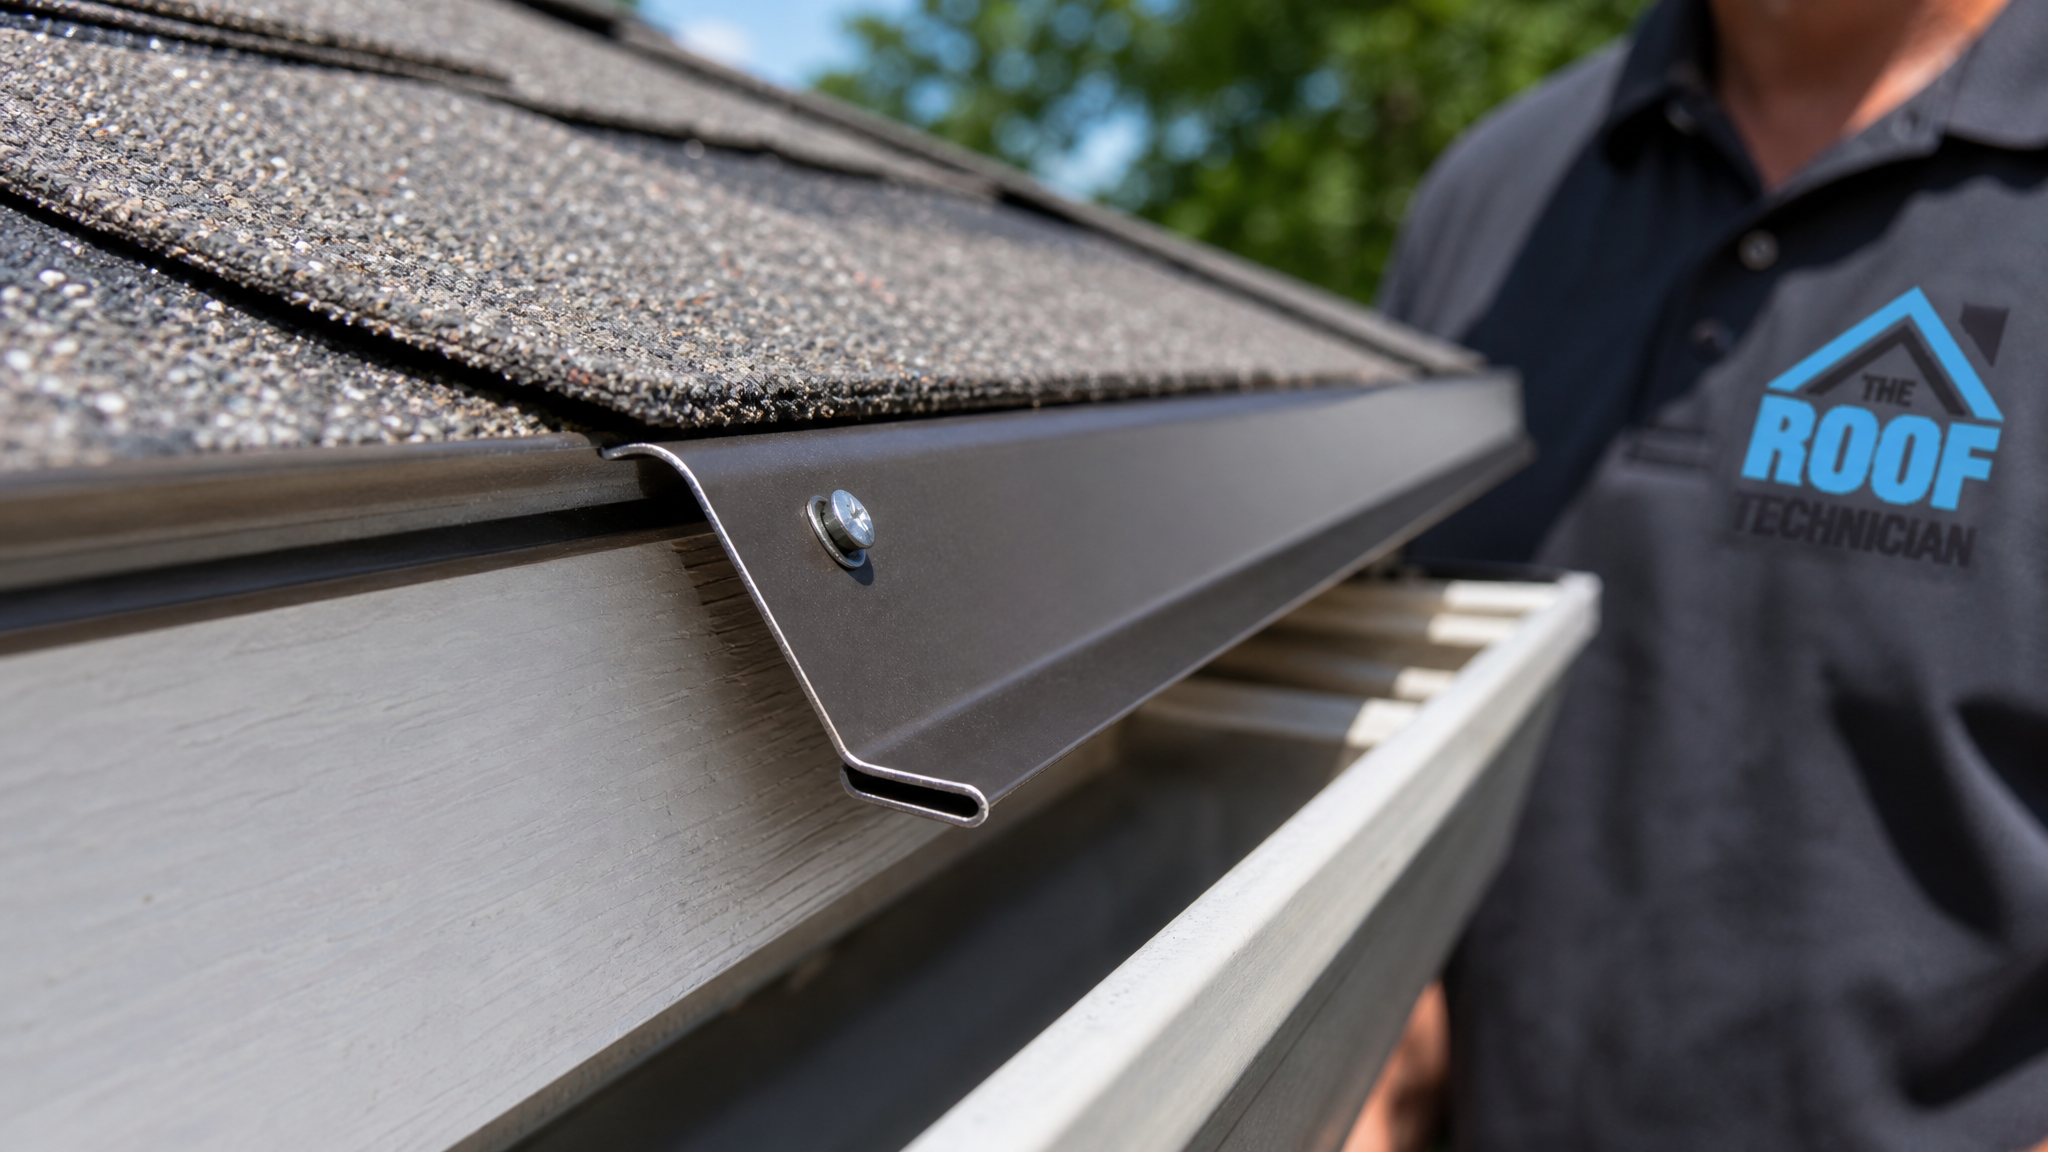
Drip edge installation is the process of fitting an L-shaped or T-shaped metal flashing along the perimeter of the roof before (at the eaves) and after (at the rakes) the underlayment and shingles are laid. The vertical leg covers the top of the fascia board, while the horizontal flange sits on the roof deck under the underlayment. A small hemmed lip at the bottom edge kicks water outward so it drips clear of the wood rather than clinging to it and tracking backward by surface tension.
Without drip edge, water running off the bottom course of shingles has nowhere clean to go. It wraps around the edge of the sheathing and the fascia, soaking the most exposed, least protected wood on the entire house. Over a few GTA summers of heavy rain and humidity, that repeated wetting causes the fascia to swell, paint to peel, and eventually the board to rot. The damage is hidden behind the eavestrough, so most homeowners do not notice until a contractor pulls the gutter and finds soft, blackened wood. A roof can look perfectly fine from the ground while the edges quietly fail.
Drip edge also stabilizes the bottom edge of the shingles, reduces wind uplift along the eaves, and gives the eavestrough a clean surface to catch from. It works hand in hand with proper attic ventilation and underlayment to keep the roof assembly dry. In a region with the rainfall and temperature swings of Toronto, these edge details are what separate a roof that reaches its full lifespan from one that needs edge repairs years early.
Is Drip Edge Code-Required in Ontario?
Yes. Drip edge is required for asphalt-shingle roofs under the building code provisions that govern roof flashing and water shedding, and the manufacturers of the shingles themselves require it as a condition of their warranties. The Ontario Building Code, which adopts the framework of the National Building Code, calls for flashing at roof edges to direct water away from the underlying structure. Beyond the code, shingle manufacturers such as the major brands installed across the GTA list drip edge in their installation instructions. If a roof is shingled without it, the manufacturer can deny a warranty claim because the roof was not installed to specification.
The practical consequence is that drip edge is not a place to save money. A reputable contractor will include it as a standard line item, and a quote that omits it should raise a question. The table below summarizes the key code and warranty points homeowners should know.
| Requirement | What It Means | Why It Matters in the GTA |
|---|---|---|
| Edge flashing required | Metal flashing must be fitted at eaves and rakes to shed water | Prevents water wrapping onto fascia and sheathing |
| Installed under underlayment at eaves | Eave drip edge goes under the membrane; rake drip edge over it | Ensures water flows onto, not under, the flashing |
| Manufacturer warranty condition | Shingle makers list drip edge in installation specs | Missing drip edge can void shingle warranty claims |
| Minimum overlap of sections | Pieces overlap roughly 50 mm at joints | Stops gaps where water can sneak through |
| Fastener spacing | Nailed roughly every 300 mm along the flange | Keeps flashing tight against wind uplift |
Because these specifications are tied to both code and warranty, a thorough roofer will document them on the quote. If you are unsure whether your existing roof has compliant edge flashing, an inspection during a roof repair in Toronto visit can confirm it quickly.
How Drip Edge Protects Your Fascia and Roof Deck
The fascia board is the long horizontal board that runs along the lower edge of the roof, behind the eavestrough. It carries the gutter and closes off the ends of the rafters. Because it sits at the lowest, wettest point of the roof, it is the first thing to fail when water management is poor. Drip edge protects it in three ways.
First, it physically caps the top of the fascia, so runoff cannot pour straight down the face of the board. Second, the hemmed lip throws water outward past the fascia and into the eavestrough, breaking the surface tension that would otherwise pull water backward against the wood. Third, by covering the vulnerable edge of the roof sheathing, it stops moisture from creeping into the end grain of the plywood deck, which is where rot and delamination start.
The roof deck benefits just as much. The exposed edge of plywood or OSB sheathing is its weakest point against moisture. A drip edge shields that edge and gives the underlayment a clean termination. This matters across every roof type, including the low-slope and flat roofing assemblies common on Toronto additions and row houses, where edge metal performs a similar water-directing role. Around penetrations like skylights, edge and head flashing work on the same principle: keep water on top of the assembly and moving toward the drainage point.
Eave Drip Edge vs Rake Drip Edge: The Installation Order
One of the most important and most often misunderstood parts of drip edge installation is the order it goes on relative to the underlayment. The rule is different at the two edges, and getting it backward defeats the entire purpose.
At the eaves, the drip edge goes on first, directly onto the deck, and the ice-and-water membrane or underlayment goes over the top of it. This way, any water that reaches the membrane runs down onto the drip edge and off the roof. At the rakes, the order flips: the underlayment goes down first, and the rake drip edge goes over it. This keeps wind-driven water from getting under the flashing and running back onto the deck. The table below makes the distinction clear.
| Edge | Drip Edge Order | Reason | Common Mistake |
|---|---|---|---|
| Eave (bottom) | Drip edge first, underlayment over it | Water on membrane drains onto flashing | Membrane installed under flashing, trapping water |
| Rake (sloped side) | Underlayment first, drip edge over it | Sheds wind-driven water off the edge | Drip edge tucked under membrane |
| Joints/overlaps | Overlap pieces ~50 mm, eave side under | Continuous water path with no gaps | Butting pieces with no overlap |
| Corners | Mitre or wrap for continuous coverage | Prevents an open seam at the corner | Leaving an unflashed corner gap |
This is exactly the kind of detail that separates a professional crew from a rushed job. It costs nothing extra in materials to do it right, but it requires a roofer who understands why the sequence matters. During any roof replacement, this is worth confirming with your contractor before work begins.
Drip Edge Installation Cost in Toronto and the GTA (2026)
Drip edge is inexpensive relative to the protection it provides. The material itself is a low cost per linear metre, and on a full roof replacement it is usually folded into the overall price rather than billed separately. As a standalone addition or as part of a fascia repair, here is what GTA homeowners can expect to pay in 2026. Prices vary with roof size, the number of stories, edge access, and the metal type and gauge.
| Scope | Typical 2026 GTA Price | Notes |
|---|---|---|
| Drip edge material (aluminum) | $3 to $6 per linear metre | Material only, common gauge |
| Drip edge material (galvanized steel) | $5 to $9 per linear metre | Heavier, more durable option |
| Installed as part of full replacement | Included in roof price | Standard inclusion, not an add-on |
| Standalone install (average detached home) | $650 to $1,400 | Depends on perimeter and access |
| Combined with fascia repair | $1,200 to $3,000+ | Includes replacing rotted boards |
The most expensive scenario is the one drip edge is meant to prevent: replacing rotted fascia and damaged sheathing after years without edge flashing. That repair often runs into the thousands once soffit and gutter work is included, which is why spending a few hundred dollars on proper drip edge at install time is one of the best returns on a roofing budget. You can read what GTA homeowners say about our edge and flashing work on our reviews page, and check coverage across the region on our service areas list.
Choosing the Right Drip Edge Material and Profile
Drip edge comes in a few profiles and materials, and the right choice depends on your roof and your climate exposure. The two common profiles are the L-style (also called Type C or hemmed L) and the T-style (also called Type F or extended F), which has a longer kick-out and is preferred for steeper roofs and heavier rainfall because it throws water further from the fascia.
Aluminum is the most popular material in the GTA because it does not rust, it is light, and it comes in colours that match common fascia and soffit. Galvanized and stainless steel are heavier and more impact-resistant but can corrode at cut edges if not coated. Colour-matched aluminum is usually the sensible default for a Toronto home. The table below compares the options.
| Material | Lifespan | Best For | Consideration |
|---|---|---|---|
| Aluminum | 20 to 30+ years | Most GTA homes | Rust-proof, colour-matched, light |
| Galvanized steel | 15 to 25 years | High-impact exposure | Can rust at cut edges |
| Stainless steel | 30+ years | Premium or coastal-style builds | Higher cost |
| Copper | 50+ years | Heritage and high-end homes | Premium price, develops patina |
Whatever the material, the profile should match the roof slope and the gutter position so water lands cleanly in the eavestrough. A good roofer will recommend a colour and profile that suits your home rather than installing whatever is on the truck.
Signs Your Roof Is Missing Proper Drip Edge
You do not need to climb a ladder to spot the warning signs that your roof lacks proper edge flashing. Several symptoms are visible from the ground or appear inside the soffit area, and catching them early can save an expensive fascia rebuild.
Look for peeling or blistering paint on the fascia board, especially in long horizontal streaks below the gutter line. Watch for dark staining or visible water tracks on the soffit. Check whether the bottom course of shingles overhangs the deck edge cleanly or curls back. After a summer storm, see whether water sheets down the face of the fascia instead of dripping into the gutter. Inside the attic, water stains near the eaves point to edge water intrusion. Any of these is worth a closer look, and many homeowners discover the issue during routine attic ventilation or repair work when a roofer inspects the edges directly.
If you see these signs, do not wait for the rot to spread. Edge problems are far cheaper to fix when caught at the staining stage than after the fascia has gone soft. Our team across Vaughan, Markham and Mississauga handles these inspections regularly, and you can find answers to more common questions on our FAQ page.
Is drip edge installation really required by code in Ontario?
How much does drip edge installation cost in the GTA in 2026?
Does drip edge go on before or after the underlayment?
Can drip edge be added without replacing the whole roof?
What material is best for drip edge in Toronto?
How long does drip edge last?
Schedule Your Drip Edge Installation With The Roof Technician Today
Proper drip edge installation is a small line item that protects the most exposed wood on your entire roof, keeps your shingle warranty valid, and meets Ontario code. Whether you are planning a full replacement, fixing a leak, or worried about staining on your fascia, The Roof Technician can inspect your roof edges and recommend exactly what your home needs, with no pressure and clear pricing.
Call us today at (416) 826-0040 or schedule a free roof inspection to protect your fascia before the next summer storm.
The Roof Technician proudly serves Toronto, Mississauga, Vaughan, Markham and the GTA with expert roof replacement, repair and flashing work.